
Step-by-Step Guide: Setting Up System Restore on Your PC Running Windows 10
Step-by-Step Guide: Setting Up System Restore on Your PC Running Windows 10
To do a System Restore in Windows 10, you need to create a restore point first. Just follow steps below to create a restore point in Windows 10.
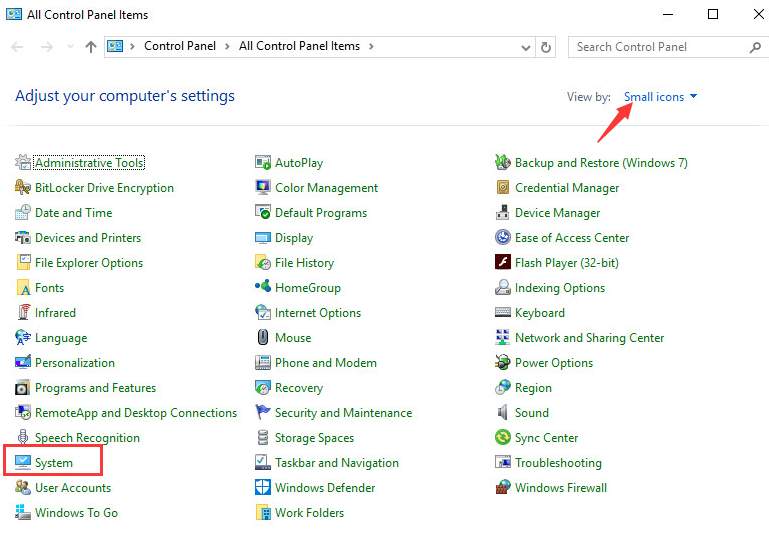
1. OpenControl Panel .
2. View bySmall iconsand click onSystem.
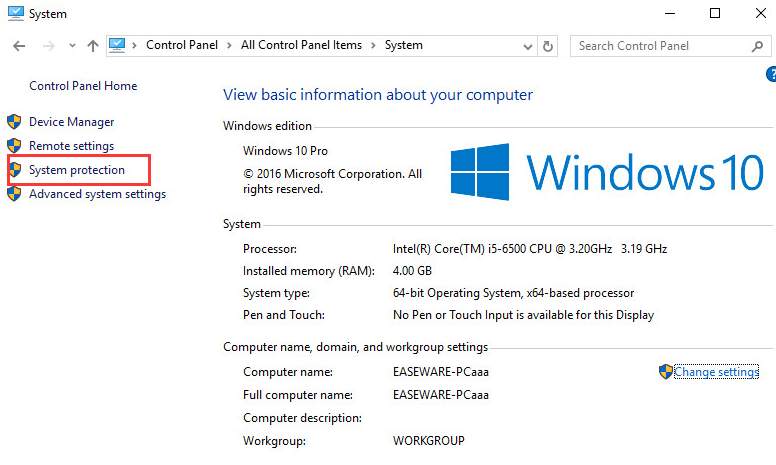
3. ClickSystem Protection in left pane.
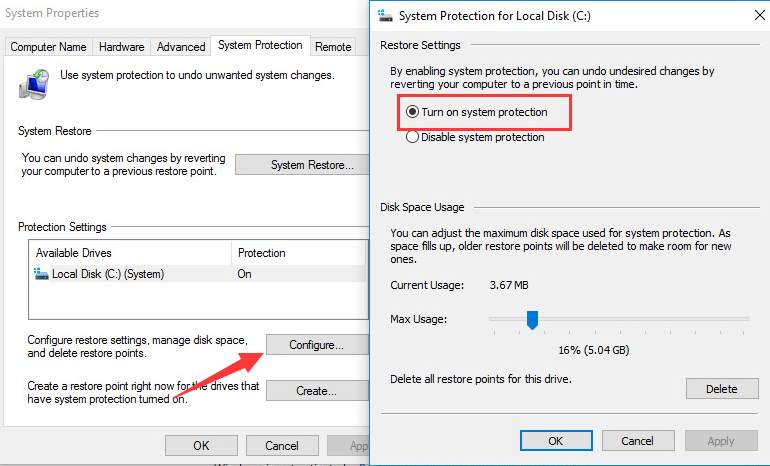
4. UnderProtection Settings, ensure theProtectionfor the drive that you want to create a restore point is On (Note the drive must have Windows installed on.).

If not, select the drive and clickConfigure to turn it on.
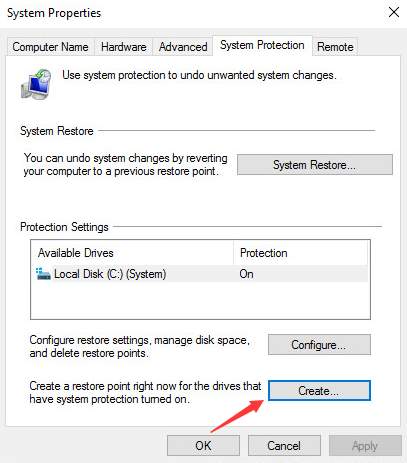
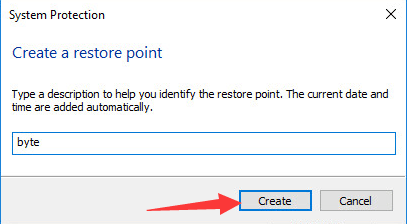
5. ClickCreatebutton.
6. Type a description in the box, which will help you identify the restore point. (In my case, I type “byte”.) Then clickCreate button. After that, Windows will start creating the restore point.
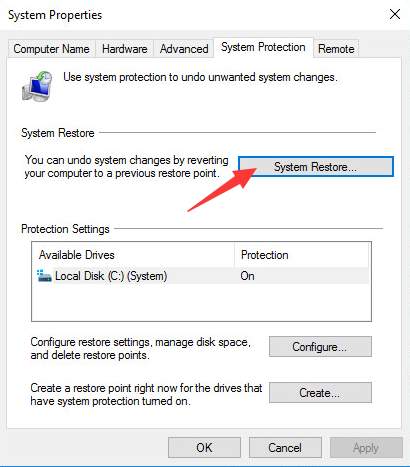
If you want, you can check whether the create point is created successfully:
Open System Properties again and clickSystem Restore .
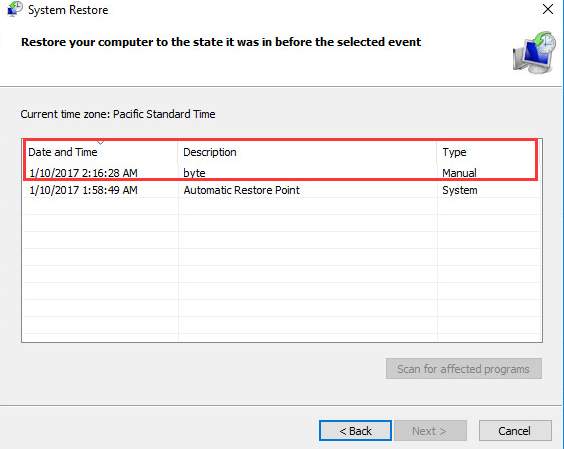
In my case, the “byte” restore point has been created successfully.
 Project Manager - Asset Browser for 3Ds Max
- Title: Step-by-Step Guide: Setting Up System Restore on Your PC Running Windows 10
- Author: Jeffrey
- Created at : 2024-08-25 15:33:09
- Updated at : 2024-08-26 15:33:09
- Link: https://some-knowledge.techidaily.com/step-by-step-guide-setting-up-system-restore-on-your-pc-running-windows-10/
- License: This work is licensed under CC BY-NC-SA 4.0.